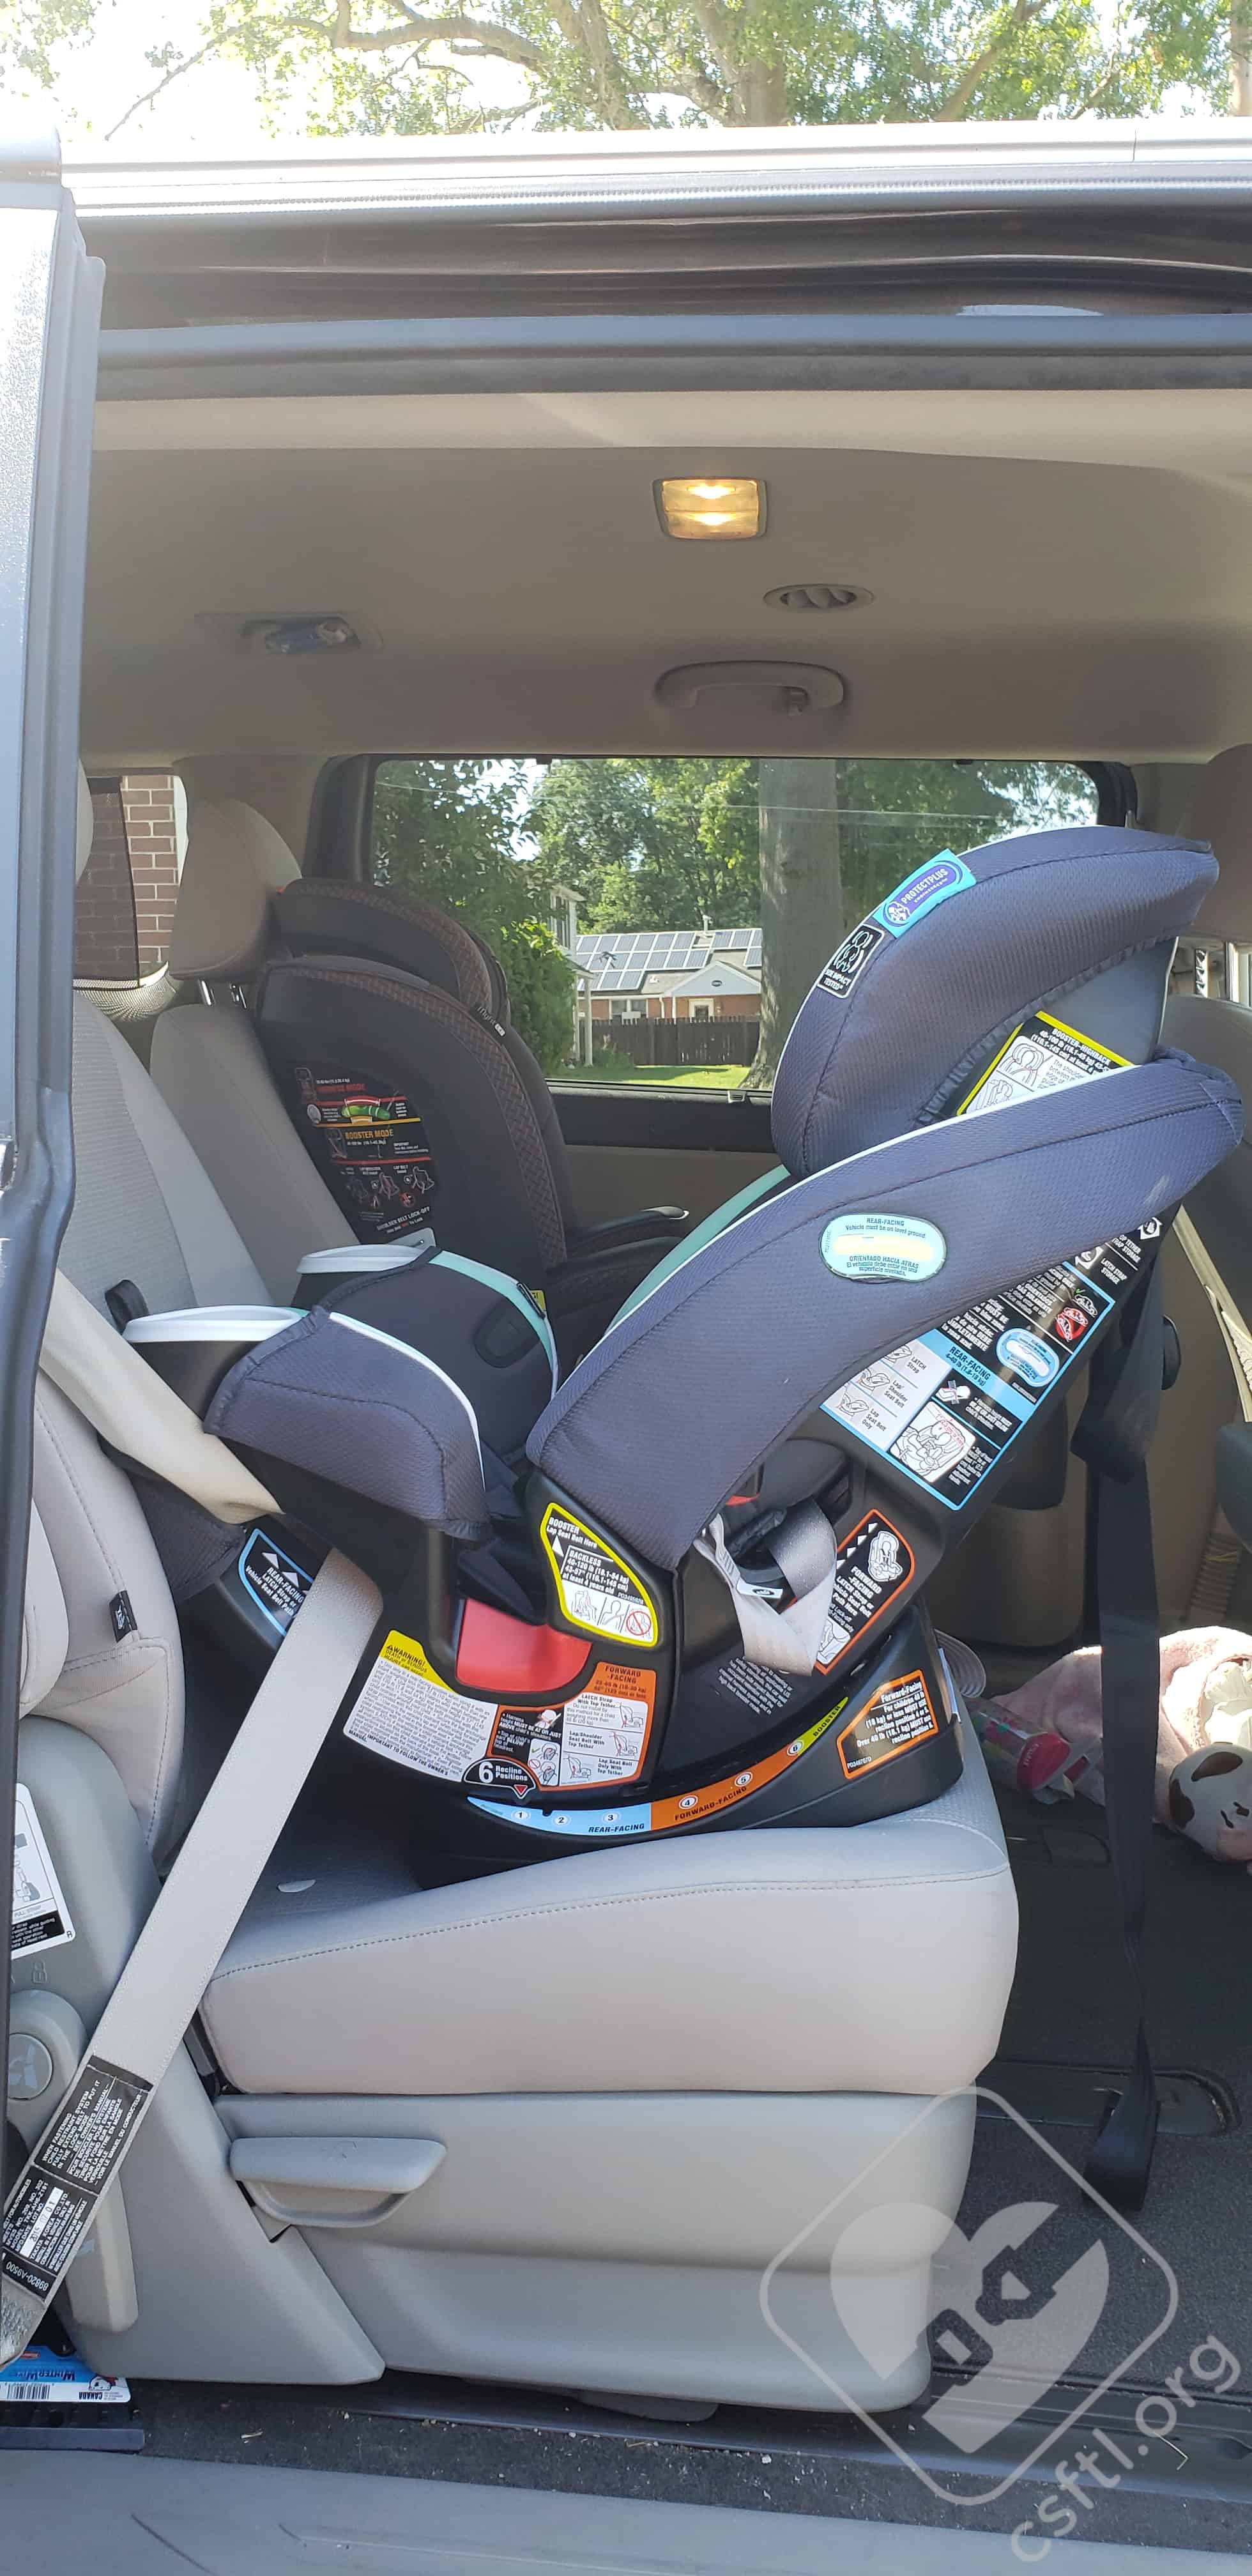
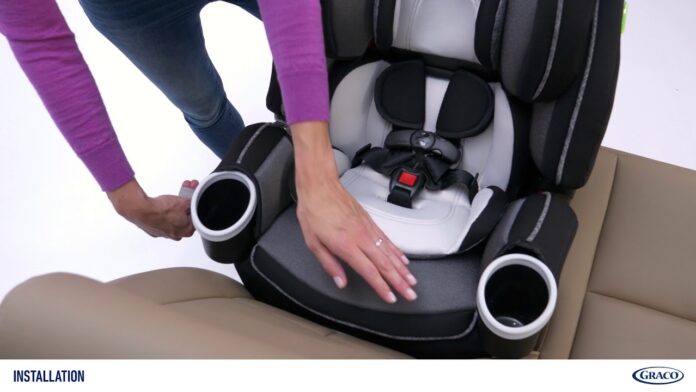
To install the Graco 4Ever DLX rear facing car seat, ensure the UAS strap or vehicle seat belt is routed through the rear-facing belt path marked with a blue label and install the car seat tightly in your vehicle. When installing the Graco 4Ever DLX rear facing car seat for your child’s safety, it is essential to follow the proper guidelines and ensure a secure fit.
By correctly positioning the UAS strap or seat belt through the designated rear-facing belt path and tightening the installation, you can provide a safe and comfortable ride for your little one. We will guide you through the step-by-step process of installing the Graco 4Ever DLX car seat in the rear-facing position, emphasizing the importance of a secure and proper installation for your child’s safety.

Credit: m.youtube.com
Preparing For Installation
Before you start the installation process of your Graco 4Ever Dlx rear-facing car seat, it’s crucial to understand the proper car seat guidelines and check the LATCH system weight limit.
Understanding Car Seat Guidelines
It’s important to familiarize yourself with the car seat guidelines set forth by the manufacturer and comply with your local regulations. To ensure the safety of your child, always refer to the car seat manual for specific instructions regarding rear-facing installation and usage.
Checking Latch System Weight Limit
Be mindful of the LATCH system weight limit stipulated by your vehicle’s manufacturer. Confirm that your child’s weight, combined with the weight of the car seat, falls within the weight limit as outlined in your vehicle’s manual. Exceeding this limit may compromise the safety and effectiveness of the LATCH system.
Installing The Car Seat
When it comes to installing the Graco 4Ever Dlx car seat, it is essential to follow the correct steps to ensure your child’s safety.
Adjusting Seat Recline
Begin by adjusting the seat recline according to your child’s age and size to achieve the proper angle for rear-facing installation.
Attaching Latch Connectors
Next, securely attach the LATCH connectors to the designated anchor points in your vehicle. Make sure they are click-fitted into place.
Securing The Installation
After attaching the LATCH connectors, secure the installation by pressing firmly on the car seat and tightening the straps to eliminate any excess movement.
Safety Checks
Before installing the Graco 4Ever Dlx Rear Facing car seat, it’s important to perform a series of safety checks to ensure that the seat is installed correctly and your child is secure. These safety checks include:
Harness Height Check
One of the most important aspects of installing a rear-facing car seat is making sure that the harness is at the correct height for your child. The harness should be positioned at or below your child’s shoulders to provide maximum protection in case of a crash.
Ensuring Proper Chest Clip Placement
The chest clip plays a crucial role in keeping your child secure in the car seat. It should be positioned at armpit level, resting on your child’s chest, to prevent the straps from sliding off their shoulders. Check that the chest clip is not too low, near the belly, or too high, near the neck.
When performing these safety checks, make sure to refer to the Graco 4Ever Dlx Rear Facing car seat manual for specific instructions and guidelines. Following the manufacturer’s recommendations will help ensure that the seat is installed properly and your child is protected in the event of an accident.

Credit: www.facebook.com
Additional Resources
When installing the Graco 4Ever DLX rear-facing car seat, it’s essential to have access to additional resources that can provide detailed and visual guidance. These resources can offer valuable tips and insights to ensure the correct installation of the car seat, promoting safety for your child. Below are some essential additional resources to assist you in the installation process.
Graco’s Official Instructions
For comprehensive and manufacturer-approved guidance on installing the Graco 4Ever DLX rear-facing car seat, refer to Graco’s official installation instructions. With 120 pages of detailed information, this resource offers in-depth insights into properly securing the car seat in your vehicle.
Helpful Online Video Tutorials
If you prefer visual demonstrations, Graco’s YouTube channel provides a series of informative videos on the installation process. These videos offer step-by-step instructions and demonstrations, covering essential aspects such as preparing the car seat, utilizing the LATCH system, adjusting the seat recline, and performing installation checklists. Additionally, various online tutorials are available on platforms like YouTube and Manua.ls, giving you a range of options to find a tutorial that suits your learning preferences.

Credit: csftl.org
Frequently Asked Questions
How To Install 4ever Dlx Rear Facing?
To install 4Ever DLX rear-facing, route UAS strap or seat belt through the blue label belt path. Tighten the car seat securely in your vehicle. You can also refer to the Graco manual or watch instructional videos for guidance.
How Do You Install A Graco Rear Facing Car Seat?
To install a Graco rear-facing car seat, ensure UAS strap or seat belt is through the marked belt path. Install securely in your vehicle.
Is Graco 4ever Easy To Install?
Installing the Graco 4Ever is easy. Just make sure to route the UAS strap or seat belt through the rear-facing belt path marked with a blue label. Install the car seat tightly in your vehicle.
What Recline Position To Use On Graco 4ever Dlx?
To recline the Graco 4Ever DLX car seat, adjust the seat to the rear-facing position and ensure that the UAS strap or vehicle seat belt is routed through the rear-facing belt path marked with a blue label. Make sure to install the car seat tightly in your vehicle.
Conclusion
Ensuring the safety and comfort of your child is paramount when installing the Graco 4Ever Dlx Rear Facing car seat. By following the provided guidelines and properly securing the seat in your vehicle, you can have peace of mind knowing your little one is protected.
Trust in the process and enjoy the journey with your precious cargo.


