
To install a Britax rear-facing car seat, first locate the metal bar under the seat and connect it securely with the anchor. Adjust the recline angle and ensure the connectors are secure without any twists.
Installing a Britax rear-facing car seat is crucial for your child’s safety in the vehicle. By following the manufacturer’s instructions and guidelines, you can provide a secure and comfortable seating arrangement for your little one. Proper installation not only ensures safety but also guarantees a smooth and enjoyable ride for your child.
Taking the time to correctly install the Britax rear-facing car seat will give you peace of mind while traveling with your precious cargo.
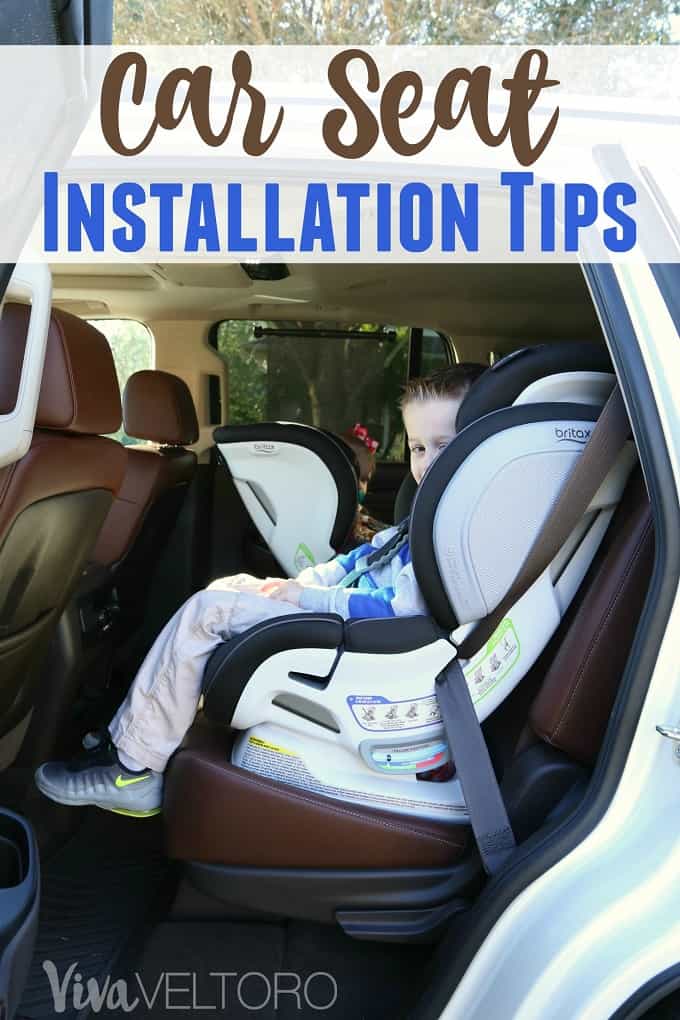
Credit: www.vivaveltoro.com
Preparing For Installation
Learn how to install a Britax rear-facing car seat with these easy steps. Make sure to adjust the recline angle, open the seat, secure the connectors, and ensure the strap isn’t twisted for a safe installation.
Choosing the Right Location:
- Ensure a flat and stable surface in the backseat.
- Stay away from active airbags to prevent accidents.
Understanding your Car Seat:
- Read the instruction manual thoroughly.
- Identify the harness and recline adjustment features.
Before starting the installation process, make sure to have the necessary tools ready.
:max_bytes(150000):strip_icc()/_hero_SQ_Britax-Marathon-ClickTight-Convertible-Car-Seat-1-6fa33b5d942e4b31b15be6ddf0f26dd0.jpg)
Credit: www.verywellfamily.com
Step 1: Adjusting Recline Angle
To adjust the recline angle when installing a Britax rear-facing car seat, locate the small button and metal bar underneath the seat. Hook the seat into the metal bar using the anchor. Ensure the recline angle is properly adjusted for maximum safety.
Before installing your Britax rear-facing car seat, it’s important to adjust the recline angle for optimal safety and comfort. This step ensures that your child is in the correct position while traveling.
Locating The Adjuster
The first step in adjusting the recline angle is to locate the adjuster on your Britax rear-facing car seat. This adjuster is typically located on the base of the car seat, towards the front or underside. It may vary slightly depending on the model of your car seat, but it is usually easily accessible.
Take a moment to locate the adjuster on your Britax rear-facing car seat. Familiarize yourself with its location before proceeding to the next step.
Setting The Correct Recline
Now that you have located the adjuster, it’s time to set the correct recline angle for your car seat. The specific recline angle will depend on your child’s age, weight, and height, as well as the recommendations from Britax.
To determine the correct recline angle, refer to the instruction manual that came with your Britax rear-facing car seat. It will provide you with the necessary information and guidelines to set the recline angle correctly.
Once you have the correct recline angle, adjust the seat accordingly using the adjuster. Ensure that the seat is securely locked in place once you have made the adjustment. Take a moment to check for any movement or wobbling to ensure a stable recline angle.
Remember, setting the correct recline angle is crucial for your child’s safety and comfort. It allows their head and neck to be properly supported and prevents them from slumping forward or to the side while in the car seat.
By following these simple steps and adjusting the recline angle correctly, you can ensure that your Britax rear-facing car seat provides optimal safety and comfort for your little one during every car ride.
Step 2: Opening The Car Seat
Now that you have successfully located the latch of the Britax rear facing car seat, the next step is to unfold the seat. Properly unfolding the car seat is crucial in ensuring a secure and safe installation.
Locating The Latch
Before unfolding the Britax rear facing car seat, it’s important to locate the latch. The latch is typically positioned between the base and backrest of the car seat. It may be covered with a fabric flap, so gently lift the flap to reveal the latch.
Unfolding The Seat
Once the latch is located, carefully unlatch the car seat by gently pressing the release button and pulling the base and backrest apart.
Credit: www.youtube.com
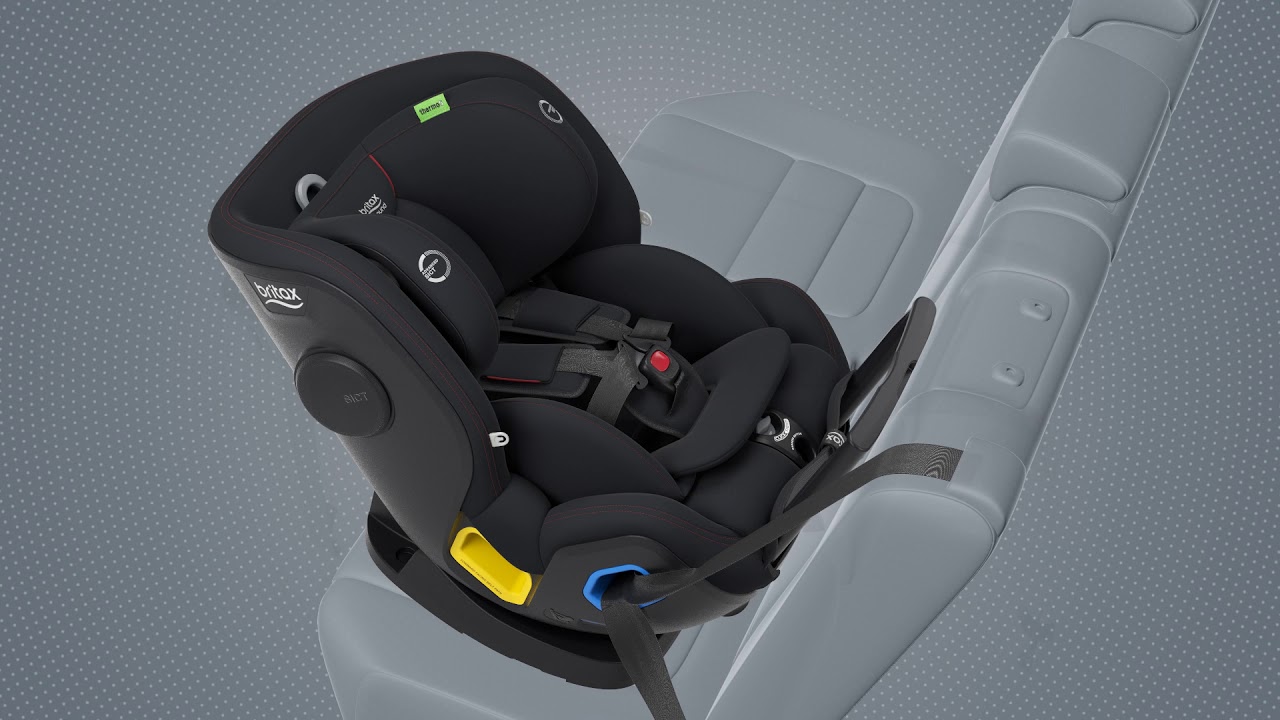
Step 3: Securing The Connectors
To secure the connectors of your Britax rear-facing car seat, locate the lower anchor points, ensure they’re attached securely, and check that the straps are not twisted. Follow the manufacturer’s instructions for a safe installation.
When securing the connectors of your Britax rear-facing car seat, it is crucial to ensure proper installation for the safety of your child. Follow these steps meticulously to attach and verify the security of the connectors.
Attaching Lower Anchor Connectors
To attach the lower anchor connectors:
- Locate the lower anchors in your vehicle’s seat.
- Connect the lower anchor connectors from the car seat to these anchors.
- Ensure a tight and firm attachment without any twists in the connectors.
Verifying Security
After attaching the lower anchor connectors, the next step is to verify their security:
- Check that the connectors are securely latched onto the lower anchors.
- Give a gentle tug to ensure they are tightly attached.
- Confirm that the straps are not twisted, as this can compromise the security of the installation.
Step 4: Final Checks
Once you have successfully installed your Britax rear-facing car seat, it is crucial to perform final checks to ensure that it is secure and ready for use. This step is essential for your child’s safety and comfort while traveling.
Ensuring Proper Installation
Begin by checking the car seat for any movement. It should be securely fastened with minimal to no wiggle room. Verify that the seat is at the correct recline angle, as indicated in the user manual, to provide optimal safety for your child.
Adjusting Straps And Positioning
Check the harness straps for proper tightness. They should lie flat and snug on your child’s shoulders without any twists. Adjust the straps as needed to achieve a secure fit, ensuring that the chest clip is placed at armpit level.
Frequently Asked Questions
How Do You Install Rear Facing On A Britax Clicktight?
To install rear facing on a Britax ClickTight, adjust the recline angle, open the seat, secure the lower anchor connectors, and ensure the strap isn’t twisted. Use one installation method – vehicle seat belt, car seat tether, or LATCH. Avoid passive voice, and maintain a clear, human-like tone.
How To Properly Install A Rear Facing Car Seat?
To properly install a rear-facing car seat, use the vehicle’s LATCH system or seat belt. Ensure a secure fit and proper recline angle. Follow the manufacturer’s instructions for correct installation. Check for twisted straps and secure connectors. Always make sure the car seat is tightly installed before use.
How Do You Install A Britax Car Seat?
To install a Britax car seat, locate the little button and metal bar underneath it. Hook the anchor into the metal bar. Adjust the recline angle, open the seat, and ensure the connectors are secure and the strap is not twisted.
Follow the instructions in the installation videos provided by Britax.
How To Install Britax Emblem Car Seat Rear Facing?
To install Britax Emblem car seat rear facing, use the lower anchor connectors. Adjust recline angle, open the seat, secure connectors, and ensure the strap isn’t twisted.
Conclusion
Installing a Britax rear-facing car seat doesn’t have to be complicated. By following the proper steps and guidelines, you can ensure your child’s safety on the road. Remember to double-check all connections and straps for a secure installation. Drive safe and enjoy peace of mind with Britax!

